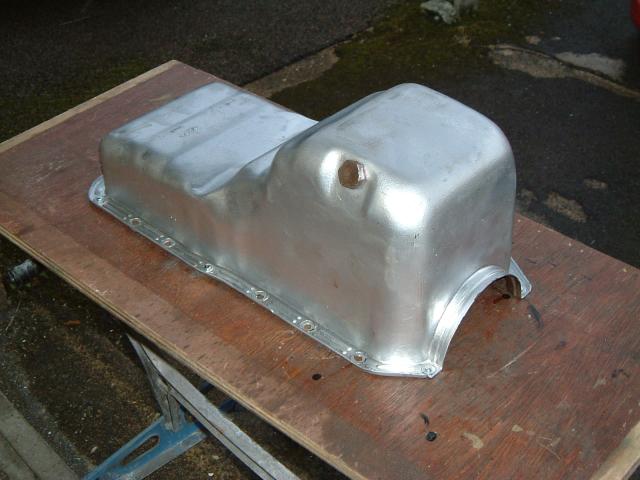
When I first fitted the Kent engine into my Locost everything seemed fine - until I looked underneath and realised that I had about 2.5" (about 60mm) ground clearance!
It was obvious that something had to be done, otherwise I'll be fitting every little bump in the road. General opinion states that a clearance of more than 4" (100mm) is a good height that should clear all but the worst 'sleeping policemen'.
The only way to achieve this without raising the engine is to chop a bit off the bottom of the sump. However there is a practical limit, which is the bellhousing - there is no point in shortening the sump beyond that point! I replaced the lost oil capacity (about 250ml) by using the replacement sump bottom to extend the sump forwards.
Important note: This is the way I did the job - I take no responsibility if you choose to copy what I've done!
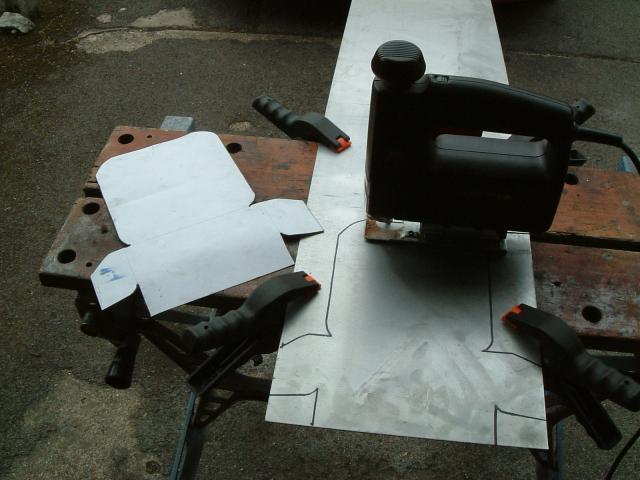
The first thing I did was to screw the sump upside-down onto a flat, strong piece of plywood. This ensures that the mounting face remains flat while you cut and weld the base. This also makes the whole thing stable and easier to manage.
The next thing was to mark out the cutting line - I used a metalworker's marking gauge, but it wouldn't be too hard to knock something up as a one-off for this job. I also used marking blue, which is a quick-drying lacquer that gives a nice clear line when scratched by the marking gauge - if you haven't got any of this stuff then a permanent felt-tip pen can be used to cover the area with ink. This works almost as well, but may not be quite as durable (not really a problem).
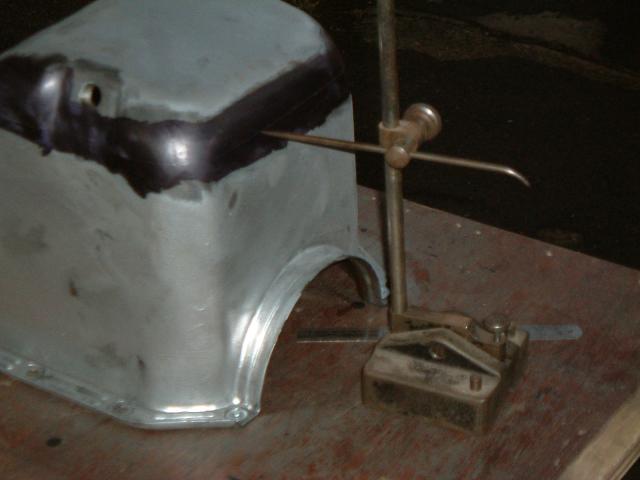
You can see that the oil draining hole will be cut off - don't worry, this will get sorted out later! Also note that I marked the sump higher than the required level; a second line was marked below it to indicate the 'bend point', which will be near-enough the finished depth of the sump.
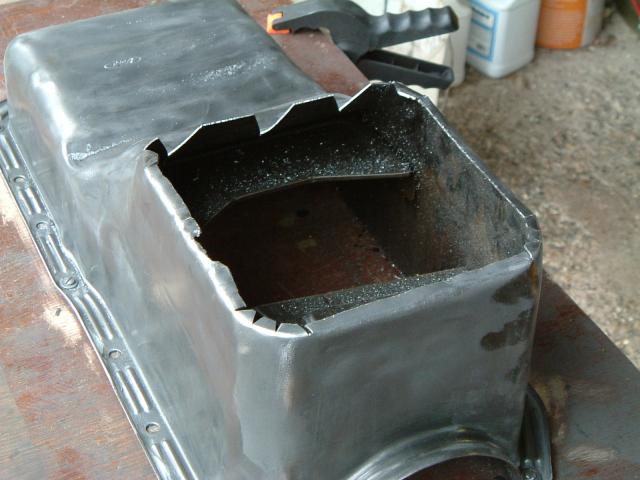
First of all the sump is cut along the marked line. Don't lose the bit you've cut off! Check to see if the threaded part of the drain hole is attached to it - if so, you will have to remove it.
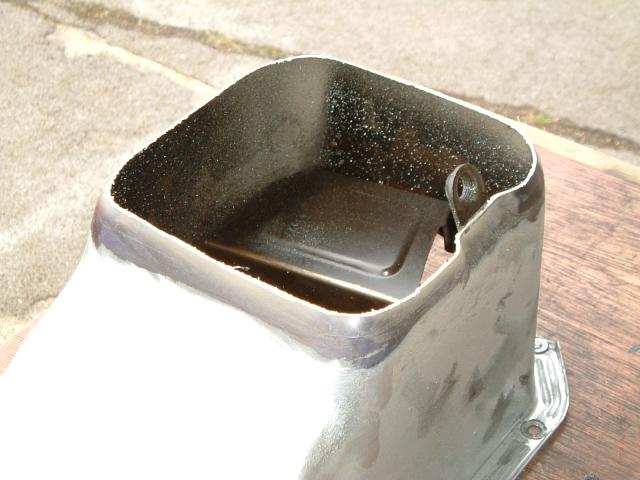
The next job is to cut down to the bend line so that the edges can be folded down. Note that I cut deep notches in the front section - these act as baffles when the bottom plate is welded on.
The bottom was cut from 1.6mm steel plate (1.5mm or 1/16" sheet will do, or anything similar). I made a cardboard template, cutting and fitting, until it looked good. This was transferred to the steel and cut out using a jigsaw.
This plate was bent until it formed a reasonably well-fitting compartment at the front of the sump. It was then slid in under the bent-over tabs and welded all round.
The reason for doing it this way was to deal with the problem of metal thickness at the base of the sump - where the metal curves over it is less than 0.5mm thick, so trying to MIG-weld a butt joint would be a nightmare. This way most of the welding heat can be kept onto the 1.6mm sheet, flowing the thinner stuff into the pool. Hardly any 'fixing' was required once the main welding was done.
The original drain hole had a threaded piece of metal spot-welded to the inside of the hole. After cutting off the bottom this part may be found attached to the cut off bit, or still attached to the rest of the sump (as in my case). This should be removed by any appropriate method (angle grinder, drilling out the spot welds, etc.). Once a new hole has been drilled in the shortened sump the plug should be screwed through the hole into the threaded part; the threaded part should be re-welded to the skin of the sump - IMPORTANT! remove any plastic washer from the plug before doing this!
Note that the oil seal is made between the inner plug face and the skin of the sump, with the washer filling any gaps. The fact that the inner threaded part is only spot-welded is irrelevant. However, when planning the location of the new drain hole it is important to consider the following parameters:
The sump was removed from its backing board, the sump plug and washer was fitted tightly, and the whole thing mounted horizontally while resting on a sheet of white paper. Once everything was secure the sump was filled with water and left for a time. Any leaks are clearly evident on the paper.
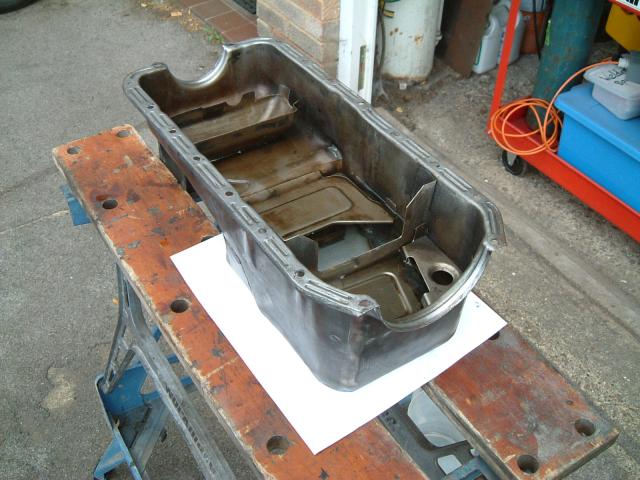
Some leaks were apparent immediately - after fixing the obvious ones the sump was placed on a dry piece of paper and refilled. After a few 'fixes' the sump was filled and left for an hour or two. Once it was clear that all leaks had been fixed the sump was drained, dried, and fitted to the engine block. As part of the refitting process the oil pick-up pipe was shortened and refixed using a steel sleeve and silver solder.
Now that the sump has been shortened I have slightly more than 4" (100mm) ground clearance, and its bottom is just about level with the lower edge of the bellhousing. By good fortune I have ended up with exactly the same oil capacity, which is very useful!